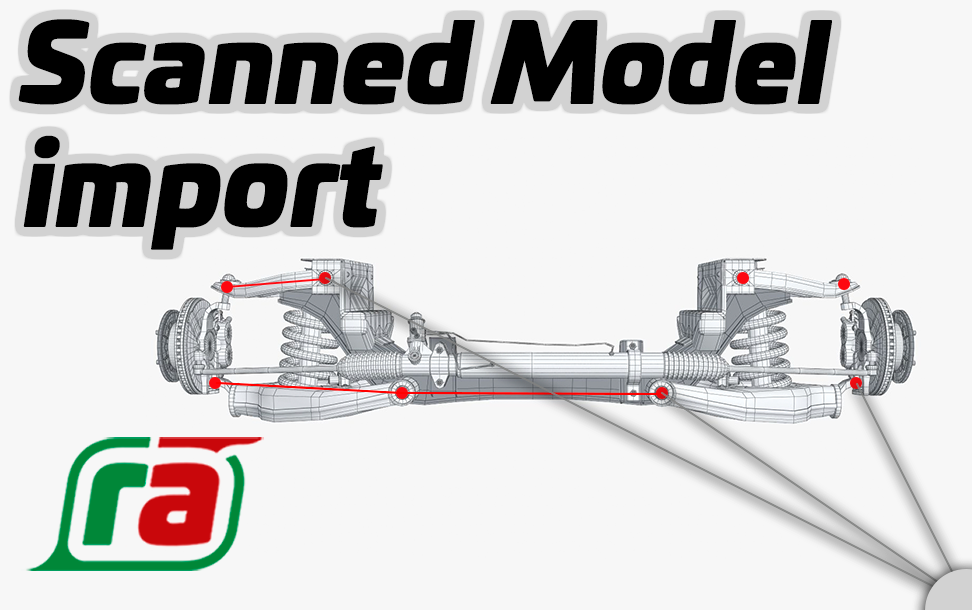
How to import a 3d scan
Scanning and measuring
Here, I am showing you how I used the poly.cam app to scan my car and create a 3d model. This example using photogrammetry to stitch images together but you can also use a lidar scanner such one of the scanners made by Revopoint.
- 00:00 Scan using your preferred photogrammetry app
- 00:22 Manually measure between two points
- 00:29 Set tire pressure
- 00:40 Manually measure wheel diameter, width and offset
Cleaning
Your scanner app should provide you with some tools to clean and crop the scan. It should also allow you to export a STL, OBJ or PLY file which you can import into the Scanned model importer app.
Importing
- 01:53 Import the scan
Positioning and rotating to align the scan
Use the simple tools within the Scanned model importer app to resize, position and rotate the scan so it is best matched to the axis of the wireframe. Do not move any of the wireframe nodes at this point. Leave that until the next section.
Mapping the scan
Now you can drag the wireframe nodes to the relative points on the scan. If you pick-up the mover control in the center, it will snap to the points on the model - handy! If you pick one of the XYZ arrows on the mover control it will move only within that plane and won't snap - handy for fine tuning.
- 08:23 Drag the wireframe nodes to the scan
Scaling the scan
The 3d model you import will most likely lose it's true dimensions, so use the measure function to pick two points and set the true dimension between these two points.
- 11:35 Measure the scan to set the scale
Wheels
Rather than scanning your wheels, it is easier to manually measure and enter the measurements.
Import into the SGC
Now you are ready to check your measurements, refine the tolerances and create an SGC model to analyze roll center.
- 13:15 Import and analyze